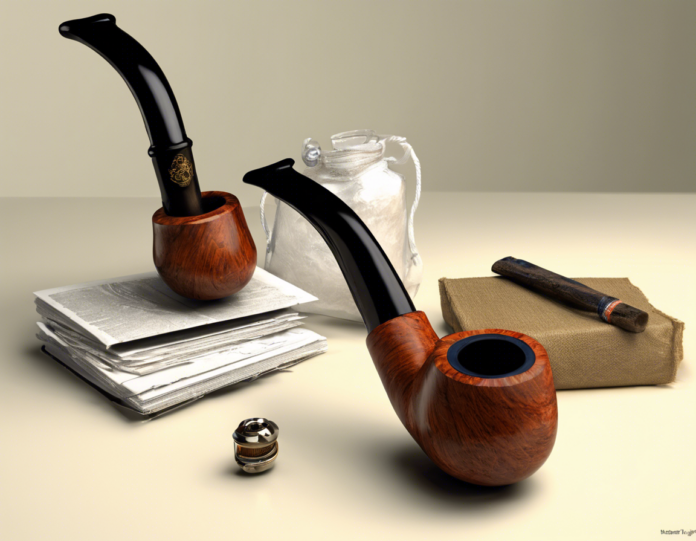
Packing a pipe is an age-old tradition that has been enjoyed by enthusiasts for centuries. Whether you’re a seasoned pipe smoker looking to hone your technique or a beginner eager to learn the art, understanding the fundamentals of packing a pipe is crucial for an optimal smoking experience. In this guide, we will explore the various methods of packing a pipe, the importance of proper packing, and tips to enhance your smoking session.
The Importance of Proper Packing
Packing a pipe correctly is essential for an even burn, maximizing flavor, and preventing the pipe from going out. Each method of packing the pipe can result in a different smoking experience. The three primary objectives of pipe packing are to create an even burn, achieve optimal airflow, and ensure an enjoyable smoking experience. A poorly packed pipe can lead to a myriad of issues, including difficult draws, excessive relights, and an uneven burn.
Types of Pipe Tobacco Cuts
Before diving into the techniques of packing a pipe, it’s essential to understand the different cuts of pipe tobacco available on the market. Each cut requires a slightly different packing method to ensure a satisfying smoke.
- Ribbon Cut: The most common cut, ribbon cut tobacco is easy to pack and light.
- Cube Cut: Composed of small, cube-shaped pieces, this cut burns slowly and evenly when packed correctly.
- Flake Cut: Pressed and sliced into thin flakes, this cut requires a specific folding or rubbing technique for packing.
- Plug Cut: A dense, solid piece of tobacco that needs to be sliced and rubbed out before packing.
Packing Methods
Three-Pinch Method
- Step 1: Take a pinch of tobacco and lightly drop it into the bowl, filling it to about half.
- Step 2: Repeat the process two more times, gently pressing down the tobacco after each pinch.
- Step 3: Finish by adding a light cap of tobacco on top, ensuring no loose pieces are sticking out.
Frank Method
- Step 1: Fill the bowl to the top with tobacco.
- Step 2: Use a tamper to press down the tobacco until it reaches half full.
- Step 3: Add more tobacco to fill the bowl and create a slight dome shape.
Three-Stage Method
- Stage 1: Loosely fill the bowl to the top.
- Stage 2: Press down the tobacco gently until it’s half full.
- Stage 3: Add more tobacco to the desired height, creating a slight dome shape.
Tips for a Better Smoking Experience
- Rotate your pipe: To ensure an even burn, rotate your pipe while smoking.
- Use a quality pipe lighter: Opt for matches or a pipe lighter to avoid altering the tobacco’s flavor.
- Don’t overpack: Avoid packing the tobacco too tightly as it can restrict airflow.
Frequently Asked Questions (FAQs)
Q: How tightly should I pack my pipe?
A: It’s essential to find the right balance. Packing too tightly can lead to a difficult draw, while packing too loosely can cause the pipe to burn too quickly and result in a hot smoke. Aim for a moderate pack that allows for airflow.
Q: Can I mix different types of tobacco when packing a pipe?
A: Mixing tobacco blends can enhance the smoking experience by creating unique flavor profiles. However, it’s crucial to experiment with different blends to find the perfect combination that suits your palate.
Q: How often should I clean my pipe?
A: Regular maintenance is key to prolonging the lifespan of your pipe and maintaining optimal performance. Clean your pipe after each smoke session by removing any leftover tobacco and using pipe cleaners to clear the stem and shank.
Q: Does the type of pipe affect the packing method?
A: Different pipe shapes and sizes may require slight adjustments to the packing technique. For instance, wider bowls may need a looser pack compared to narrow bowls. Experiment with different packing methods to find what works best for your specific pipe.
Q: Can I re-light my pipe if it goes out?
A: It’s common for pipes to require relighting, especially if packed too loosely or not tamped correctly. To relight, allow the pipe to cool slightly before attempting to light it again to prevent overheating and alter the tobacco’s flavor.

